These are the key concepts related to term databases:
- An entry is a collection of terms in one or more languages that represent a single concept.
- A term is an element of an entry that represents a single concept in a single language.
- An attribute provides additional information to a term or to an entry. Administrators can configure mandatory or optional attributes by going to Management > Administration > Customization.
To add a new Term Database Entry to your Term Database, follow these steps:
1- Go to
Tools > Term Databases and open your Term Database
2- Click on the
Add Entry button
3- In the Term
Database - Add New Entry page, in the
Term field, enter your term. In the example below, the term is House.
4- Also enter the language associated with this term by selecting it in the drop-down menu and the status (select
Proposed, Active, Rejected or
Inactive)
5- Select or enter any attribute you want to associate with your term. Note: custom attributes are created under
Management > Administration > Customization.
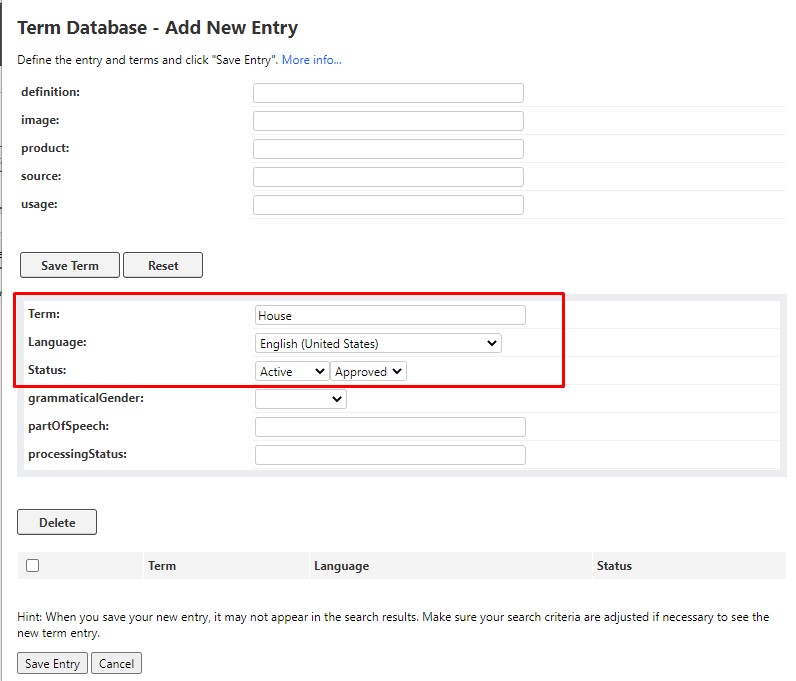
6- Once you are done, click on
Save Term. Your new Term will be added to your TD Entry
7- Now you can more terms in different languages. Once you have entered all the terms you need, click on
Save Entry. The new Entry will display. Example:
To add a new Term to an existing Term Database Entry follow these steps:
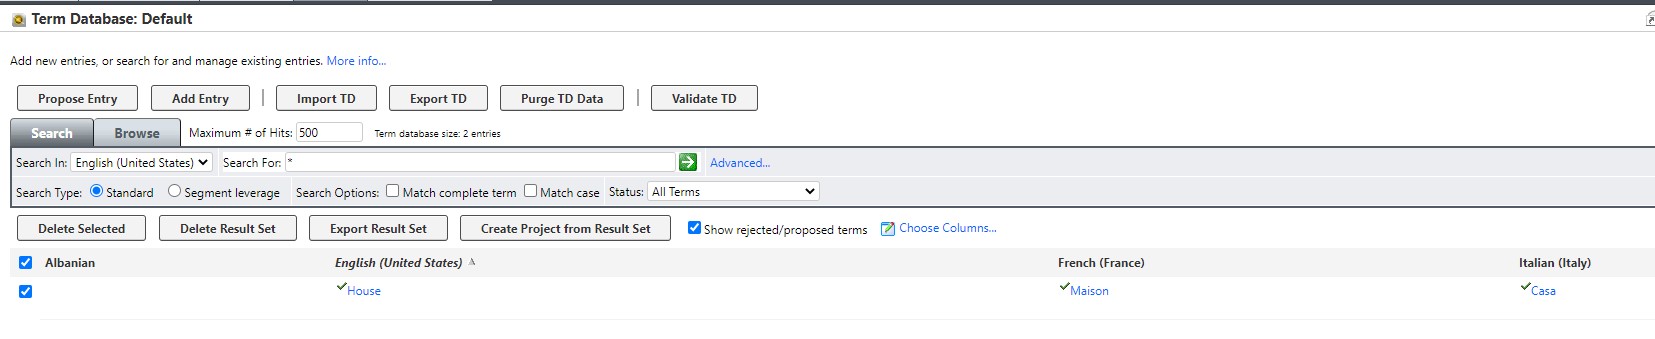
1- Open the Term Database Entry you want to add your Term to. Following the example above, this is how the TD Entry could look like after you open it:
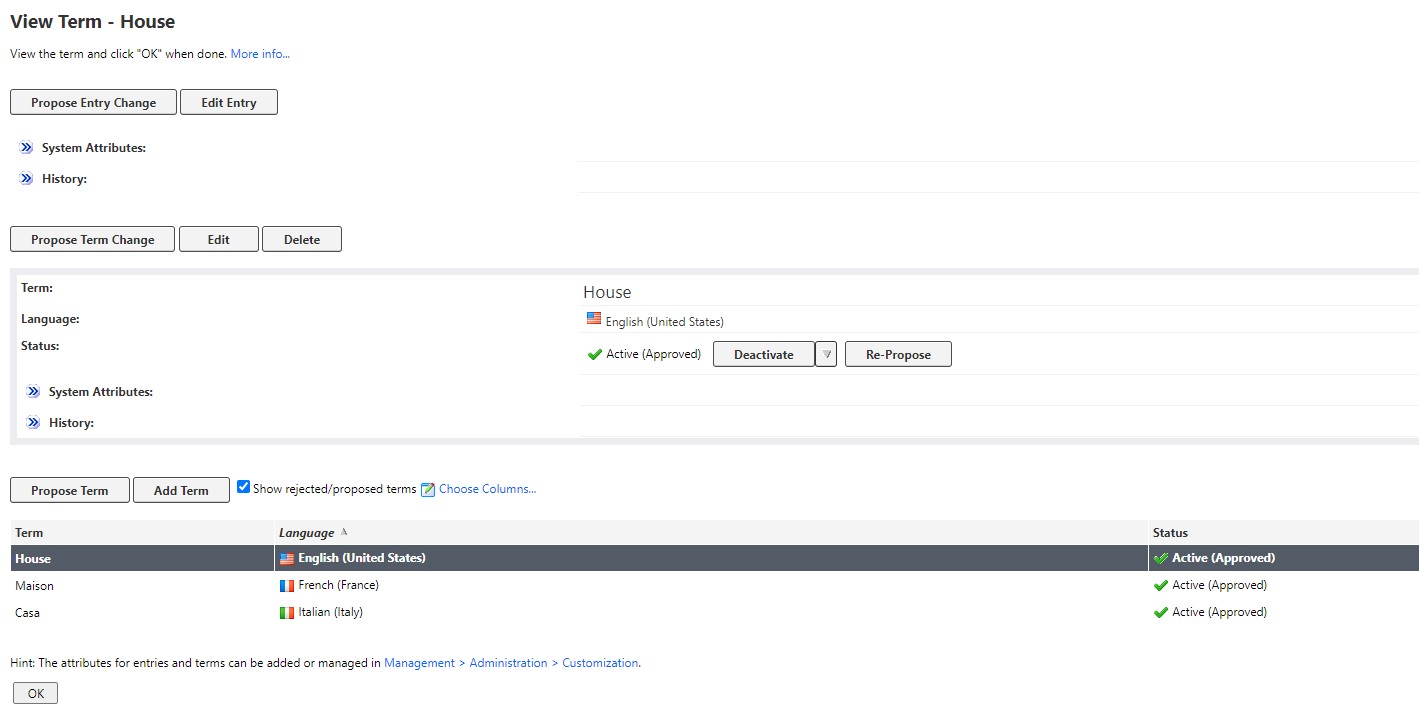
2- Click on
Add Term to add your Term
3- Also enter the language associated with this term by selecting it in the drop-down menu and the status (select
Proposed, Active, Rejected or
Inactive)
4- Select or enter any attribute you want to associate with your term. Note: custom attributes are created under
Management > Administration > Customization.
5- Once you are done, click on
Save. Your Term has been added to the Term Database Entry.
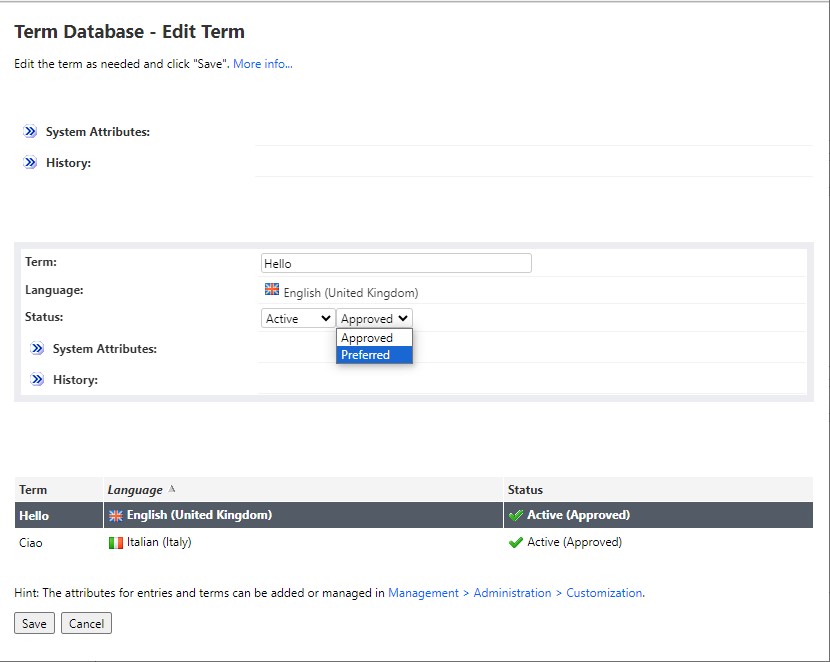
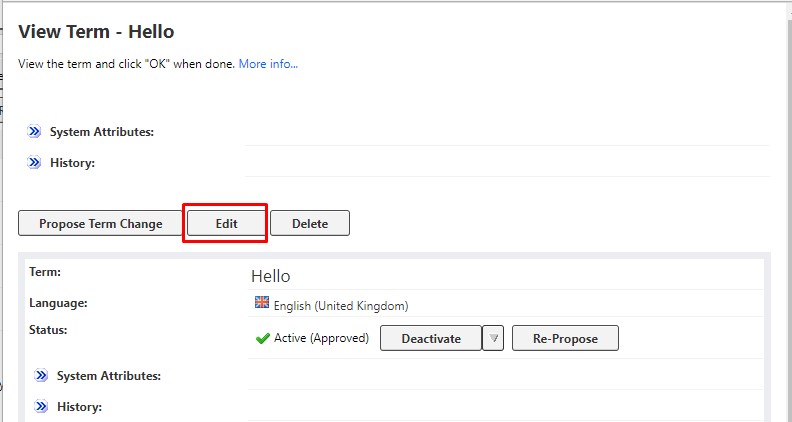
How to set the status of a Term to "Preferred" instead of "Approved"
Once you have added a new Term, the status will be automatically
Approved. You can change the status to
Preferred by clicking on
Edit:
and change the status accordingly and click on
Save to save your change: